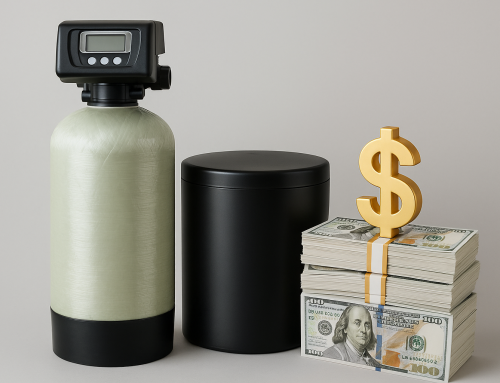
Why Install a Water Softener System?
Hard water can cause numerous problems in your home, such as scaling on pipes, reduced appliance efficiency, and dry skin. Installing a water softener system can significantly improve water quality by removing minerals like calcium and magnesium. This guide will walk you through the process of installing a water softener system, helping you enjoy the benefits of soft water in no time.
Tools and Materials Needed
- Water softener system kit
- Pipe cutter or hacksaw
- Adjustable wrench
- Teflon tape
- Bucket and towels
- Plumber’s tape or sealant
- PVC or copper pipes (depending on your plumbing)
- Shut-off valve (if not included)
- Drain hose
- Tubing or piping for bypass valve
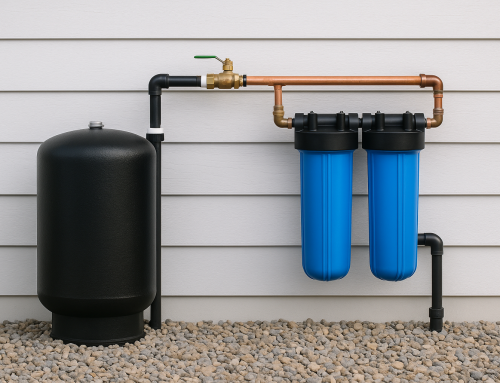
Step 1: Choose the Ideal Location
Find a location near the main water supply line entering your home, preferably close to a drain and electrical outlet. The area should be dry, have enough space for the unit, and be protected from freezing temperatures. Make sure there’s room to access the system for maintenance.
Step 2: Turn Off the Main Water Supply
Before beginning installation, turn off your home’s main water supply. Open the lowest faucet in your house to drain any remaining water from the pipes. This step is crucial to prevent water spills and ensure a smooth installation process.
Step 3: Cut Into the Main Water Line
Using a pipe cutter or hacksaw, carefully cut the main water line where you plan to install the water softener. Have a bucket ready to catch any remaining water in the pipes. Smooth any rough edges to prepare for the new fittings.
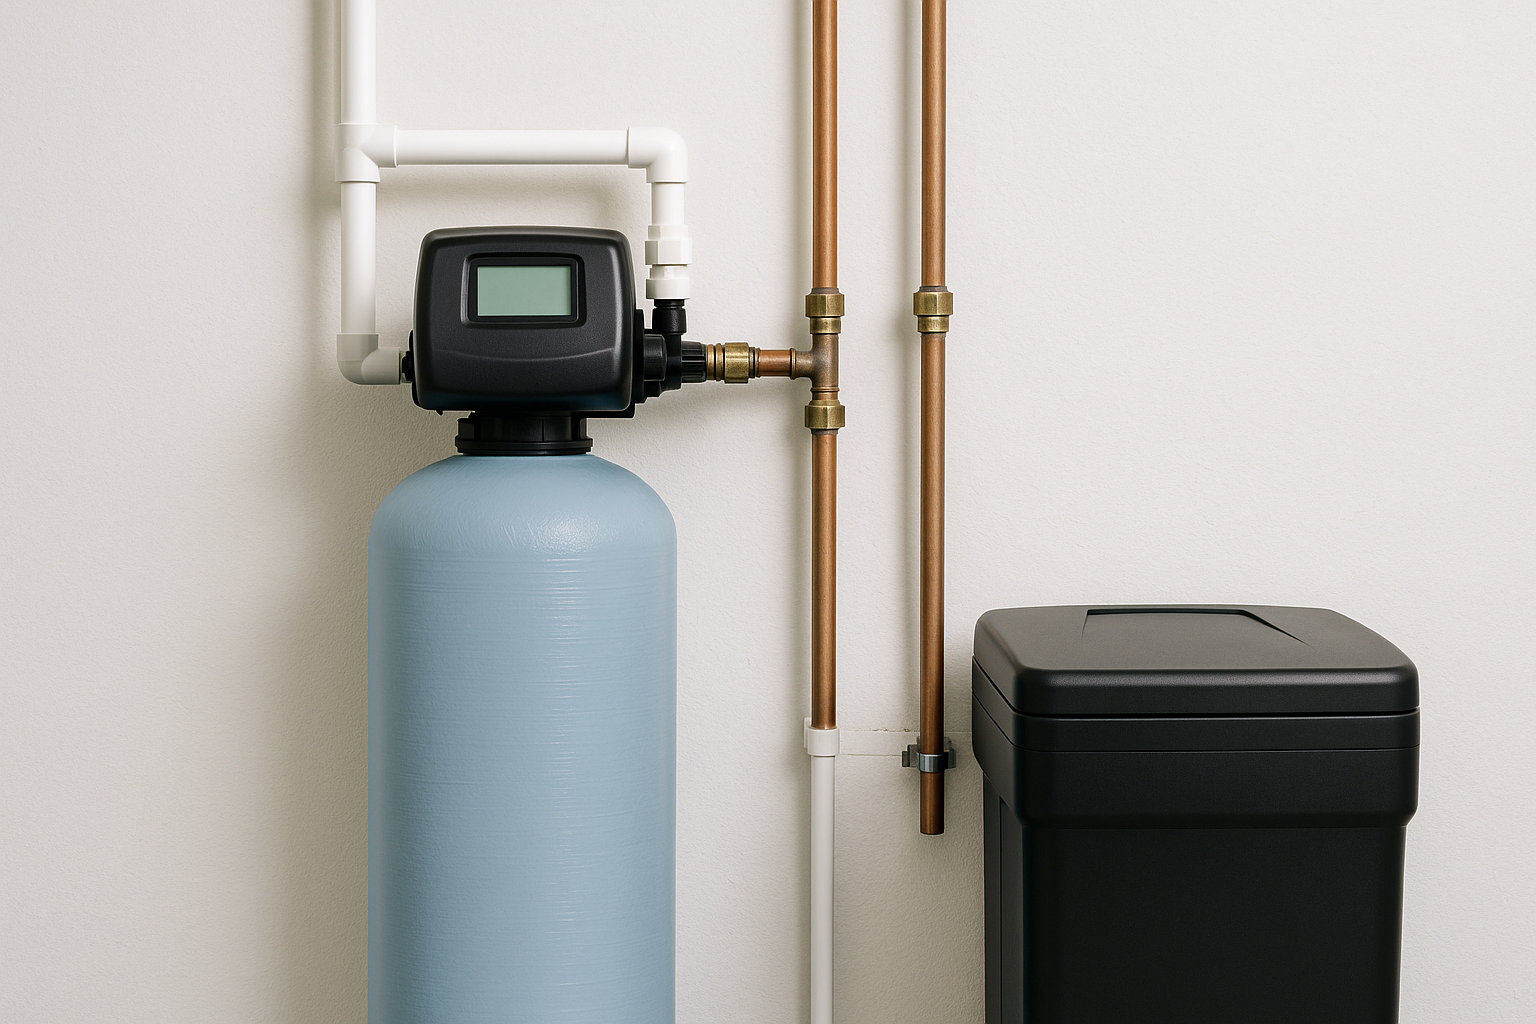
Step 4: Install the Bypass Valve
Attach the bypass valve that comes with your water softener around the cut section of your piping. This valve allows you to divert water flow for maintenance without shutting off water to your whole house. Follow the manufacturer’s instructions for correctly securing the valve.
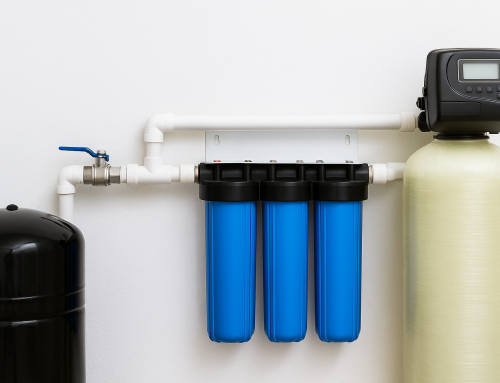
Step 5: Connect the Water Softener Unit
Position the water softener adjacent to the bypass valve. Connect the incoming water pipe to the unit’s inlet and the outgoing pipe to the unit’s outlet. Use Teflon tape on all threaded connections to create a watertight seal. Double-check that all connections are tight but avoid overtightening, which can damage threads.
Step 6: Connect the Drain Hose
Attach the drain hose to the water softener’s drain outlet. Route the hose to a nearby drain, such as a floor drain, utility sink, or standpipe. Ensure the drain hose is properly secured and has an air gap to prevent backflow from contaminating your water supply.
Step 7: Connect the Overflow Tube (If Applicable)
Some water softeners have a brine tank overflow tube. Connect this tube to a safe drainage location to prevent water damage in case of a leak. Make sure it is properly secured and unobstructed.
Step 8: Turn On the Water and Check for Leaks
Slowly turn the main water supply back on and open the bypass valve to allow water flow through the unit. Check all connections carefully for leaks. If you notice any dripping, tighten fittings as needed.
Step 9: Plug in and Program Your Water Softener
Plug your water softener into a nearby electrical outlet. Follow the manufacturer instructions to program the unit based on your water hardness level and household water usage. This often includes setting the time, regeneration frequency, and salt dosage.
Step 10: Add Water Softener Salt
Fill the brine tank with the recommended type of water softener salt. Keep it topped up regularly to keep the system running efficiently. Check the salt level every month or so as part of your routine maintenance.
Step 11: Run a Manual Regeneration Cycle
Initiate a manual regeneration cycle as per the system instructions to flush the system and prepare it for use. This step helps remove any trapped air and ensures the system is fully operational.
Troubleshooting Common Issues
- Leaks: Tighten connections and use more Teflon tape if necessary.
- Low water pressure: Ensure no blockages in pipes or filter media.
- Incomplete regeneration: Check salt levels and programming settings.
Need Help With Your Installation?
If you’re unsure about any part of this process or want a professional installation to ensure everything is set up right, don’t hesitate to reach out to Custom Filtration Systems. Our expert technicians are ready to assist and schedule an appointment to get your water softener system up and running smoothly.
Conclusion
Installing a water softener system can seem daunting, but following these detailed steps will make the process manageable and rewarding. Not only will you protect your home’s plumbing and appliances, but you’ll also enjoy the numerous benefits of soft water daily. Remember, when in doubt, trusted professionals like Custom Filtration Systems are just a call away to help with installation and maintenance.