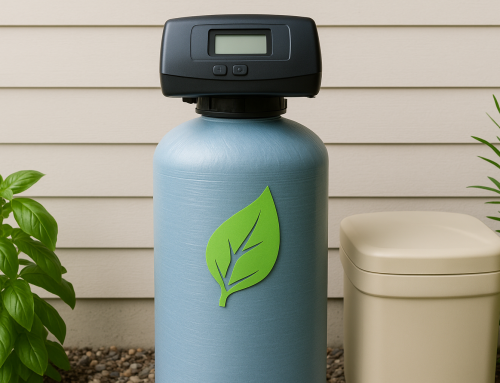
Why Install a Well Water Filtration System?
Well water can be a great source of clean water, but it sometimes contains impurities such as sediment, iron, bacteria, or chemicals that affect taste, odor, and safety. Installing a well water filtration system helps protect your family’s health and improves water quality for everyday use.
Understanding Your Well Water Quality
Before installation, it’s essential to test your well water to identify contaminants. Common tests check for bacteria, nitrates, pH levels, iron, manganese, and hardness. You can collect a sample and send it to a certified laboratory or use a home test kit for an initial check. Knowing what needs filtering will help you choose the right filtration system.
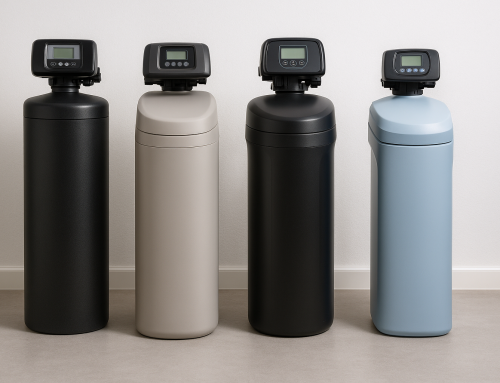
Choosing the Right Filtration System for Your Well
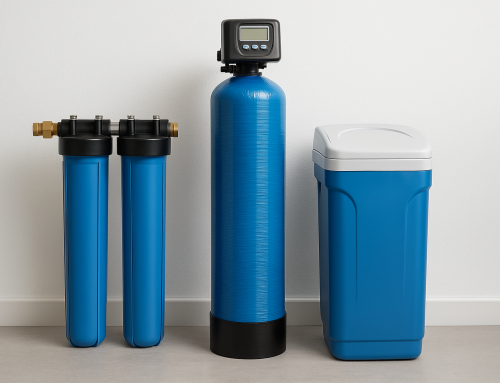
Well water filtration systems come in various types, including:
- Mechanical Filters: Remove sediment and particulates.
- Activated Carbon Filters: Improve taste and remove chlorine, chemicals, and volatile organic compounds (VOCs).
- Water Softeners: Address hard water issues caused by calcium and magnesium.
- UV Disinfection Systems: Kill bacteria and viruses without chemicals.
Often a combination of these filters is needed to tackle multiple contaminants effectively.
Step-by-Step Guide to Installation
1. Preparation
Gather all necessary materials, including the filtration system, plumbing tools, pipe cutters, fittings, and Teflon tape. Shut off the main water supply and drain your pipes to prevent leaks during installation.
2. Locate the Installation Point
The filtration system should be installed at the main water line coming from your well before it reaches your home’s plumbing. This ensures all water is filtered.
3. Cut the Main Water Line
Carefully cut the pipe where you plan to install the filter. Make sure you have enough room to secure the system and access it for future maintenance.
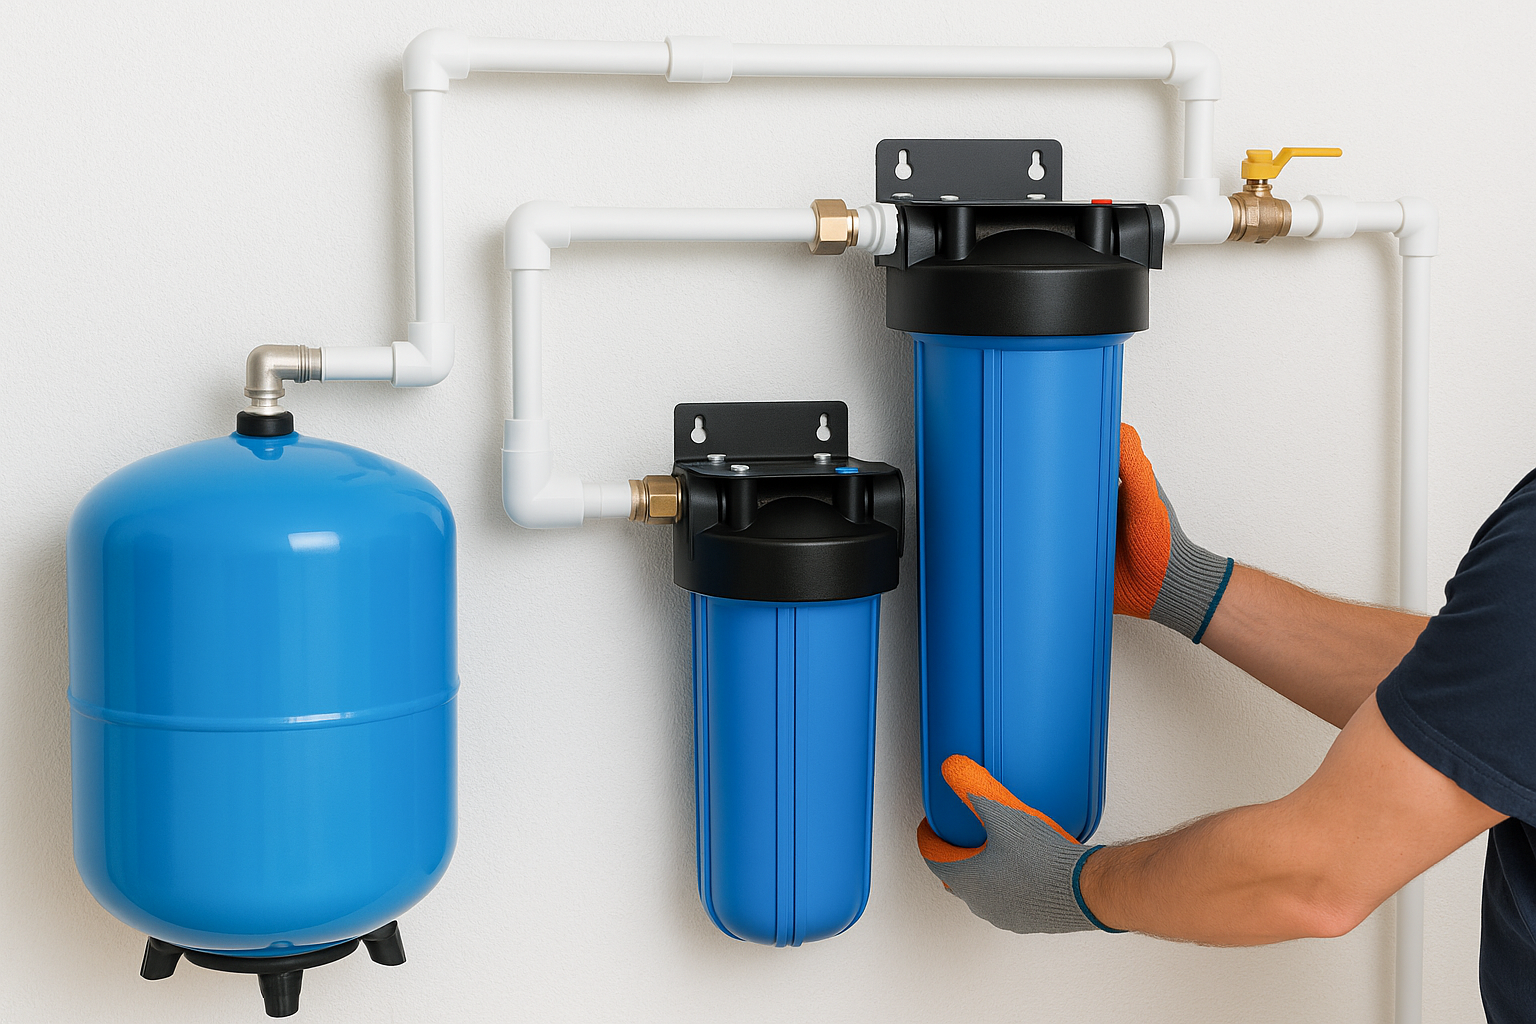
4. Install the Filter Housing
Attach the filter housing according to the manufacturer’s directions. Use pipe connectors and Teflon tape for leak-free seals. Ensure the filter is installed in the flow direction indicated on the housing.
5. Connect Bypass Valves (Optional but Recommended)
Installing bypass valves allows water to flow around the system during maintenance without shutting off the water completely, providing convenience and safety.
6. Flush and Test the System
Turn the water back on and flush the system to remove air and any loose carbon or sediment. Check for leaks and test water quality to confirm the filter works effectively.
Maintenance Tips for Your Well Water Filtration System
Maintaining your system ensures it continues to work efficiently:
- Replace filter cartridges as recommended—usually every 3 to 6 months.
- Periodically sanitize the system, especially if you use a UV filter or if the water test shows bacteria presence.
- Monitor water quality regularly to detect changes early.
- Schedule professional inspections if you aren’t comfortable with DIY maintenance.
When to Consult Professionals
While many homeowners can install basic well water filtration systems themselves, complex setups or persistent water quality issues might require professional expertise. Custom Filtration Systems offers personalized assessments and expert installation services to ensure your well water is safe, clean, and tastes great.
Conclusion
Installing a well water filtration system can significantly enhance your water quality by removing contaminants and improving taste and odor. By understanding your water’s unique needs and carefully selecting and installing the right system, you can enjoy safe, refreshing water every day. If you prefer expert guidance, don’t hesitate to reach out to Custom Filtration Systems for an appointment—they’ll help you find the perfect solution tailored to your well water.