Why Install a Whole House Water Filtration System?
Installing a whole house water filtration system (also called a point-of-entry system) protects every tap, shower, appliance, and laundry load by treating water as it enters your home. Rather than filtering water at single fixtures, a whole-home system improves taste and odor, reduces sediment and contaminants, extends appliance life, and supports healthier skin and hair.
Benefits of a Whole Home Water Filter
- Filtered water at every outlet—no need for multiple under-sink units or pitchers
- Reduced sediment that clogs fixtures and damages appliances
- Improved water taste and odor by removing chlorine and organic compounds
- Protection from specific contaminants when you choose targeted media (e.g., iron, chlorine, VOCs, microorganisms)
- Lower long-term maintenance costs for water-using appliances
Planning and Assessment Before Installation
Effective installation begins with assessment. Proper planning ensures you choose the right system and the correct placement for peak performance.
Water Testing
Start with a comprehensive water test to identify contaminants, hardness, pH, iron, manganese, bacteria, and total dissolved solids (TDS). Test results guide which filtration media and pre-/post-treatment components you’ll need.
Location and Sizing
Locate the system at the main water line entry (usually in a basement, garage, or utility area). Consider:
- Flow rate needs based on household size and peak demand (gallons per minute)
- Space for tanks, filter housings, bypass valves, and maintenance access
- Local plumbing codes and access for winterization if applicable
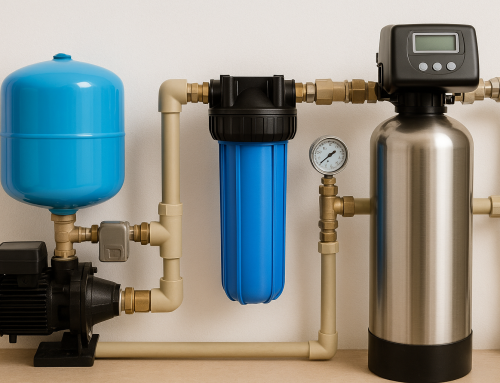
Types of Whole House Filtration Systems
Whole house systems are modular—often combining multiple technologies for comprehensive treatment.
Sediment Filters
Remove sand, silt, and larger particles to protect downstream media and appliances. Typically installed as the first stage.
Activated Carbon Filters
Effective at removing chlorine, chloramines, volatile organic compounds (VOCs), and improving taste and odor.
Iron and Specialty Media
Iron, manganese, and sulfur-specific media address staining and off-odors common in well water.
Water Softeners
Ion-exchange softeners reduce hardness (calcium and magnesium), helping with scale prevention. Softening is often paired with filtration but requires its own considerations.
UV Disinfection and Reverse Osmosis
UV eliminates bacteria and viruses; reverse osmosis is usually point-of-use but can be installed with whole-home prefiltration for high-purity needs.
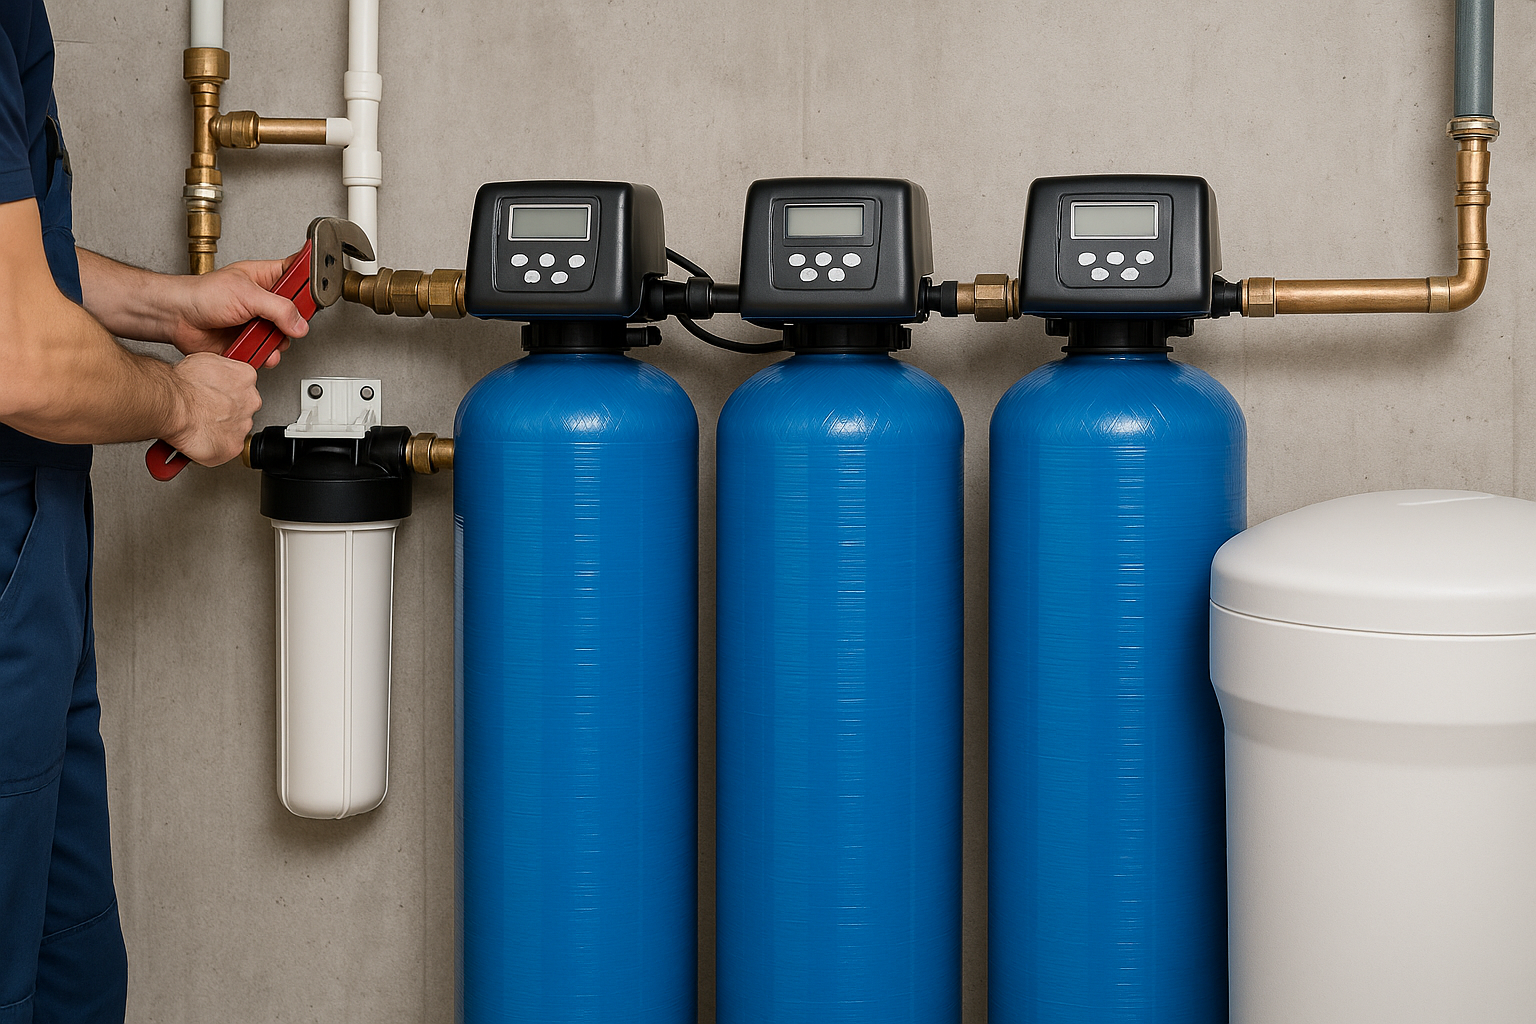
Installation Steps
- Turn off the main water supply and drain lines where required.
- Install a sediment pre-filter to protect media and valves.
- Mount main filter housings or tanks and connect plumbing with the appropriate fittings and shut-off valves.
- Install a bypass valve so water can flow if maintenance is needed without shutting off the whole house.
- Pressure test the connections and check for leaks.
- Flush the system as directed by the manufacturer to remove installation debris and activate media.
- Perform a post-installation water test to confirm contaminant reductions.
Permits, Codes, and Professional Requirements
Plumbing codes vary by locality. Some installations require permits and inspections. If your system includes electrical components (like UV), ensure correct wiring and bonding. Working with a licensed installer helps ensure compliance and optimal performance.
DIY vs Professional Installation
DIY installation may be possible for experienced homeowners with plumbing skills and the right tools. However, professional installation is recommended when:
- Permits or code compliance is required
- System design is complex (multiple stages, water softener integration, UV, or RO)
- You want guaranteed performance and post-installation testing
Professional installers reduce the risk of leaks, improper sizing, or voiding warranties.
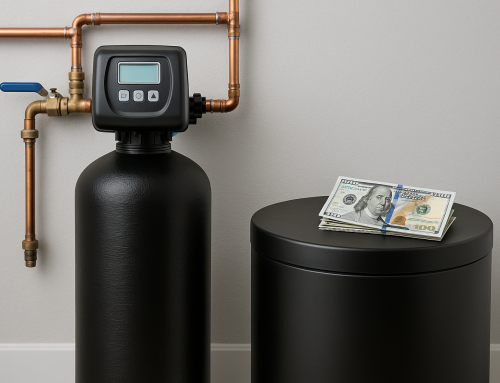
Maintenance and Cost Considerations
Plan ongoing maintenance: replace sediment and carbon filters per manufacturer guidelines (often every 3–12 months), service media tanks annually, and replace UV lamps every 9–12 months. Budget-wise, whole house filtration systems vary widely—typical installation ranges from a few hundred dollars for basic sediment/carbon units to several thousand for multi-stage systems with softeners and UV. Consider lifetime costs including media replacements and service.
Common Questions
How long does installation take?
Most standard installations take 4–8 hours; complex systems can require a day or more plus scheduling for inspections.
Will a whole house filter remove lead or arsenic?
Some systems can remove lead or arsenic, but the right media must be chosen based on accurate water testing. Always verify certified performance for specific contaminants.
Next Steps
Start with a water test and a clear plan for flow rate and space. If you prefer a professional assessment and reliable installation, reach out to Custom Filtration Systems to schedule an appointment. Their team can recommend the best configuration, handle permits, install the system, and perform follow-up testing to ensure your home’s water is protected.
Conclusion
Installing a whole house water filtration system is a smart investment in home health and appliance longevity. With proper testing, correct system selection, and professional installation or guidance, you can enjoy high-quality water from every tap. For expert help, contact Custom Filtration Systems to set up an appointment and take the next step toward cleaner water for your home.