How to Install a Water Softener System
Installing a water softener can improve water quality, protect plumbing, and make cleaning easier. This guide walks you through the process, covering tools, prep, step-by-step installation, testing, and maintenance. If you prefer a professional appointment, reach out to Custom Filtration Systems for expert installation and advice.
Tools and Materials You’ll Need
Tools
- Adjustable wrench and pipe wrenches
- Pipe cutter or hacksaw
- Thread seal tape (Teflon tape)
- Tube clamps or hose clamps
- Drill with bits (if mounting or creating drain hole)
- Bucket and towels
- Level and measuring tape
Materials
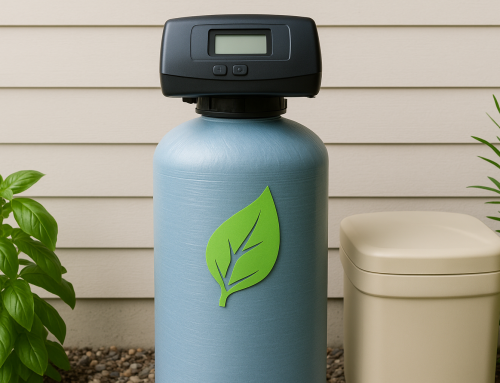
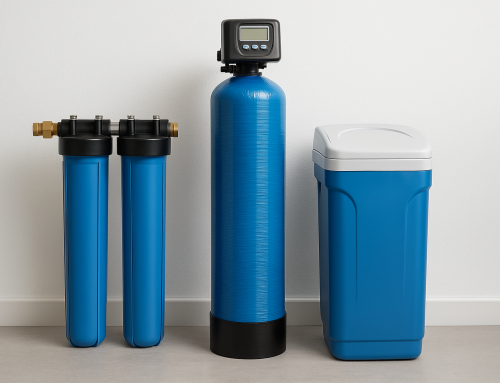
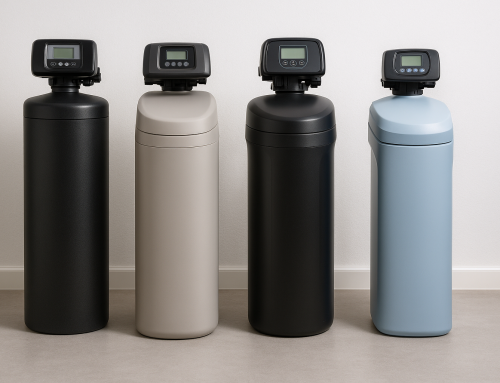
- Water softener unit (control valve, resin tank, brine tank)
- Bypass valve (often included)
- Flexible connectors or copper/PEX pipe and fittings
- Drain tubing (air gap recommended) and fittings
- Electrical outlet nearby (GFCI recommended)
- Salt suitable for your softener (if salt-based)
Assessing Your Home Water System
Before installing, identify where the main water line enters the house and choose a location for the unit near that point, ideally on a level surface with access to a drain and electrical outlet. Leave enough clearance around the unit for maintenance—typically 6–12 inches around the control valve and more for the brine tank top.
Decide if the system will be installed indoors or in a protected outdoor space. Check local plumbing codes and whether a permit or inspection is required. If the main line is large or the installation is complex, consider hiring a licensed plumber or scheduling an appointment with Custom Filtration Systems.
Step-by-Step Installation
1. Shut Off Water and Drain the Lines
Turn off the main water supply and open faucets to relieve pressure. Drain the lowest and highest faucets to remove trapped water. Place a bucket under the work area for residual water.
2. Install the Bypass Valve
Most softeners come with a bypass valve that allows you to service the unit without shutting off water to the whole house. Follow manufacturer directions to mount the bypass to the control valve and ensure it moves freely between service and bypass positions.
3. Position and Connect the Resin Tank
Set the resin tank upright on its base and position the control valve on top. Connect the incoming cold water line to the inlet port and the outgoing treated line to the outlet port. Use the appropriate fittings and apply thread seal tape on threaded joints. For soldered copper or PEX, use the correct technique for your pipes.
4. Connect the Brine Tank and Drain Line
Attach the brine line from the control valve to the brine tank. Install the drain tubing from the drain port to a suitable drain with an air gap to prevent backflow—this is often a standpipe, utility sink, or floor drain. Secure the tubing with clamps and keep the drain run as short as possible without kinks.
5. Make Electrical Connection and Program the Control Valve
Plug the softener into a nearby outlet. Most control valves require a standard 120V outlet. Set the time of day and program hardness, regeneration frequency, and salt dosage according to manufacturer instructions and your water test results.
6. Pressurize, Check for Leaks, and Start the First Regeneration
Open the bypass valve and slowly turn the main water back on. Check all connections for leaks. Once pressurized, run the first manual regeneration cycle to fill the resin and purge air. Add salt to the brine tank after the initial fill if using a salt-based system.
Testing and Final Checks
After installation and the initial regeneration, test water hardness at a faucet to confirm performance. Check for low pressure or uneven flow, which could indicate an installation issue or clogged lines. Review the control settings and ensure the brine tank has adequate salt and the drain is clear.
Maintenance Tips
- Refill salt regularly and use the type recommended by the manufacturer.
- Clean the brine tank annually and inspect for salt bridges or crusts.
- Replace resin every 10–15 years or as recommended based on water composition.
- Keep an eye on the drain line and valves for clogs or leaks.
- Schedule a professional checkup if you notice recurring hardness, odors, or performance drops—Custom Filtration Systems can help with appointments and service.
Troubleshooting Common Issues
Low water pressure: Check for kinks, clogged resin, or incorrect bypass settings. Salt bridging: Break up bridges with a broom handle and clean the tank. No regeneration: Verify timer settings and electrical power. If problems persist, contact a professional.
When to Call a Pro
Call a professional if you encounter complex plumbing, need electrical alterations, face persistent issues after installation, or prefer a warranty-backed setup. Custom Filtration Systems offers appointments, professional installation, and testing to ensure the system performs optimally.
Conclusion
Installing a water softener is manageable for a confident DIYer with basic plumbing skills, but careful planning, proper tools, and adherence to manufacturer instructions are crucial. For peace of mind and guaranteed results, reach out to Custom Filtration Systems to schedule an appointment or professional installation.