Introduction
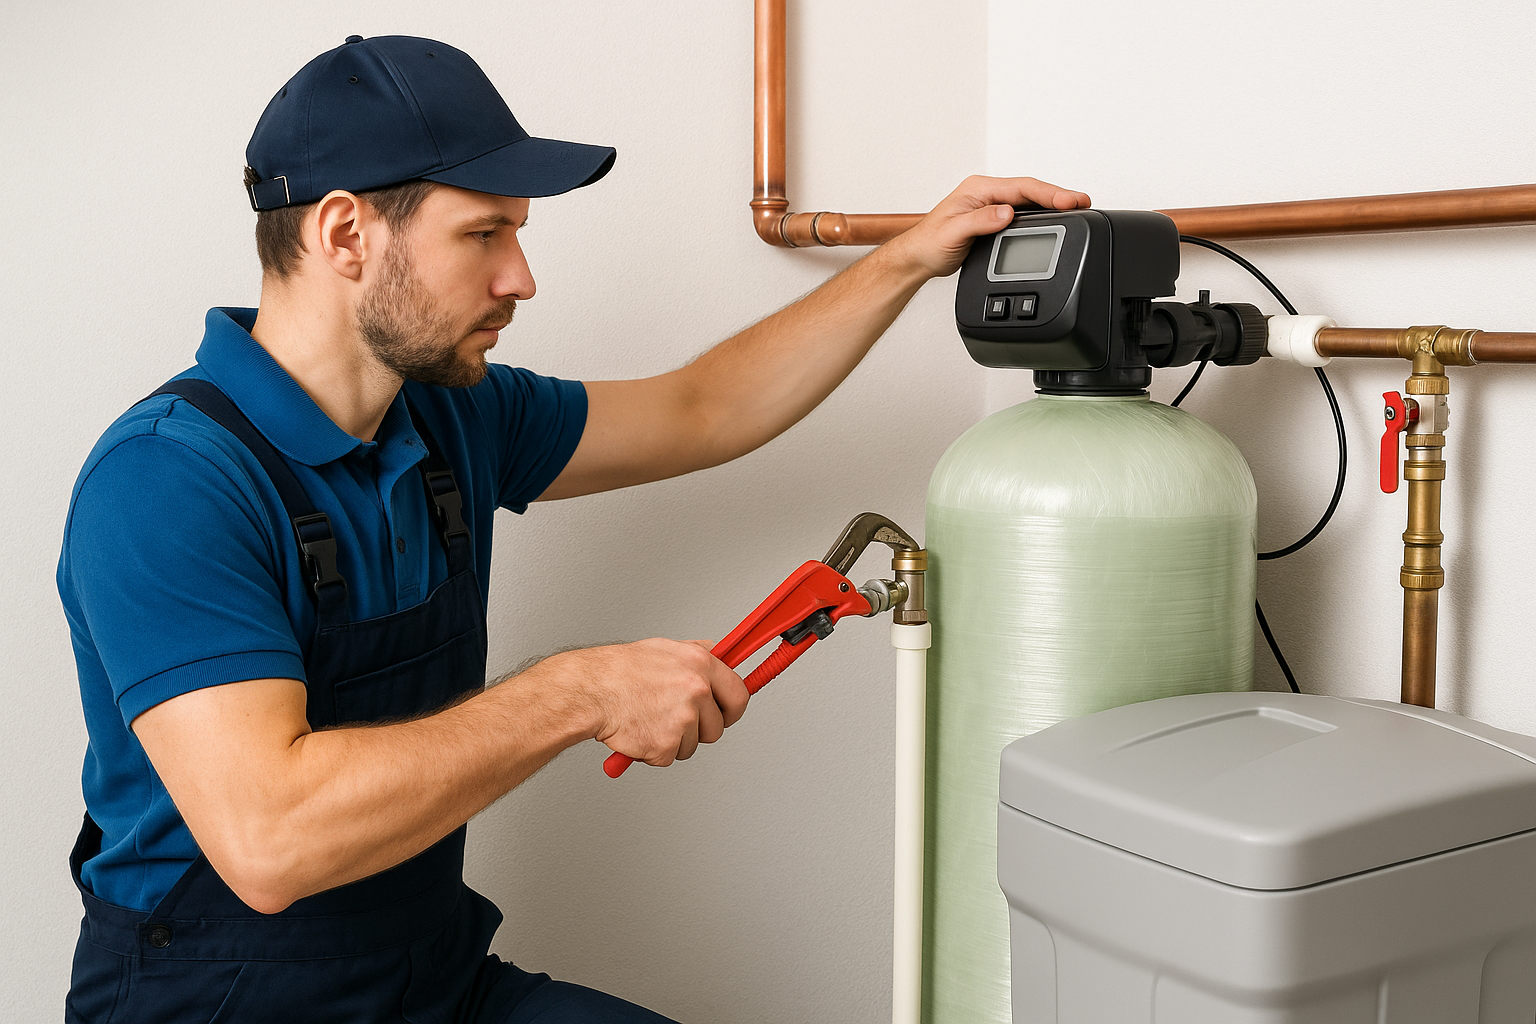
Installing a water softener is one of the best investments you can make for your home. Soft water protects plumbing, improves appliance life, keeps skin and hair softer, and reduces soap scum and mineral spots. This guide walks you through the key considerations, installation overview, maintenance tips, and whether you should hire a professional or tackle it yourself.
Why Install a Water Softener?
Signs of hard water
Hard water leaves visible and invisible effects. Look for white mineral buildup on faucets and showerheads, spotting on dishes and glassware, dingy laundry, dry skin or hair, and reduced efficiency in water heaters. If you notice these signs, a water softener can make a measurable difference.
Benefits of softened water
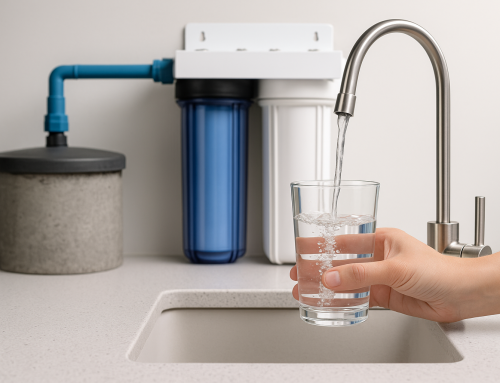
Beyond cosmetic improvements, softened water can save money by extending the life of clothes, dishes, and appliances, improving soap and detergent performance, and reducing scale buildup in pipes and water heaters. In some cases, it can also lower energy bills by allowing heating elements to operate more efficiently.
Types of Water Softeners
Salt-based ion exchange softeners
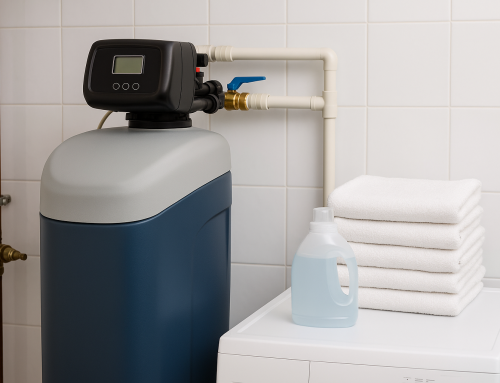
These are the most common. Ion exchange replaces calcium and magnesium ions with sodium or potassium ions. They deliver consistent softening but require regular salt refills and occasional maintenance.
Salt-free conditioners
Salt-free systems condition water to reduce scaling rather than remove hardness ions. They are lower maintenance and can be preferable where salt discharge is a concern, but they may not be as effective at preventing scale in all situations.
Dual-tank and specialty systems
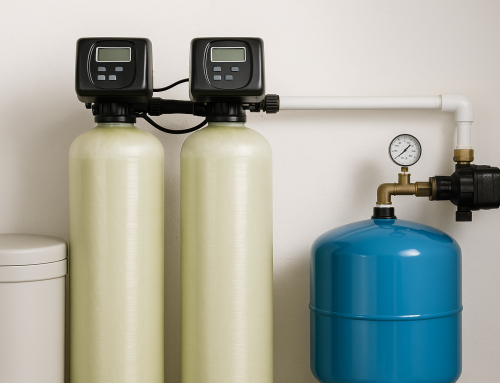
Dual-tank systems provide continuous soft water during regeneration cycles. Electromagnetic and magnetic devices are marketed for scale reduction, but their effectiveness varies. Match the system type to your water hardness, household needs, and local regulations.
Step-by-Step Installation Overview
1. Pre-installation assessment
- Test your water hardness with a kit or lab test.
- Determine flow rate needs based on household size and peak water use.
- Choose an installation location near the main water line, a drain, and a power outlet.
2. Tools and materials
Common items include pipe cutters, wrenches, PTFE tape, fittings, a hose for the drain, and the water softener unit with brine tank. Check the manufacturer’s instructions for model-specific components.
3. Basic installation steps
- Shut off the main water supply and relieve pressure by opening a faucet.
- Install a bypass valve so you can isolate the softener without shutting off water to the home.
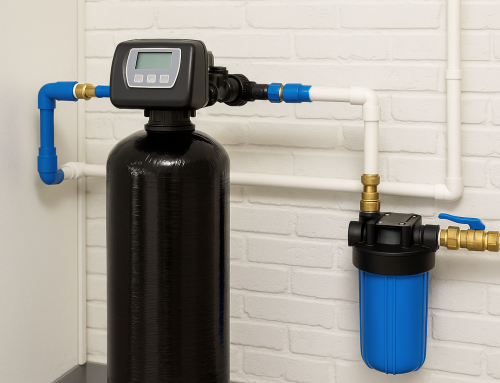
- Cut and prepare the main line, fitting the unit into place per the schematic supplied by the manufacturer.
- Connect the drain line to a suitable drain or utility sink and secure a vented air gap if required by code.
- Hook up the brine tank line and any overflow connections.
- Program the control head with your hardness level and regeneration schedule, then perform an initial manual regeneration to flush the system.
Common Installation Mistakes to Avoid
- Skipping a pre-installation water test or sizing the unit incorrectly.
- Improper drain connections or no air gap, leading to backflow issues.
- Installing too close to heat sources or in freezing locations.
- Not using a bypass valve, which complicates maintenance and repairs.
Maintaining Your Water Softener
Routine tasks
Check and refill salt or potassium monthly to keep proper levels. Clean the brine tank annually and inspect for salt bridging. Replace or service the resin bed per manufacturer recommendations—typically every 10 to 15 years for well-maintained units.
When to call a pro
If your softener loses effectiveness, leaks, or shows error codes you don’t understand, professional diagnostics can save time and prevent water damage. A trained technician can also handle more complex resin replacement or control head repairs.
Professional Installation vs. DIY
DIY installation can save labor costs and is feasible for homeowners comfortable with basic plumbing and following manufacturer instructions. However, hiring a professional ensures correct sizing, proper drain and electrical setup, permit compliance, and warranty protection. For best results and peace of mind, consider scheduling a professional appointment.
Reach out to Custom Filtration Systems for an appointment to discuss the right unit for your home and professional installation options.
Cost Considerations
Initial costs vary by type and capacity. Salt-based systems are typically mid-range in price, while high-capacity or dual-tank systems cost more. Factor in installation labor, ongoing salt or potassium costs, and periodic maintenance when budgeting.
Permits and Local Codes
Some municipalities require permits or have discharge rules for water softener brine. Check local codes before installation, especially for drain connections and backflow prevention requirements.
Conclusion
Water softener installation improves comfort, protects plumbing, and can extend appliance life. Whether you choose a DIY route or professional installation, proper sizing, correct plumbing connections, and ongoing maintenance are key to long-term performance. For expert guidance and professional installation, contact Custom Filtration Systems to set up an appointment and get personalized recommendations.