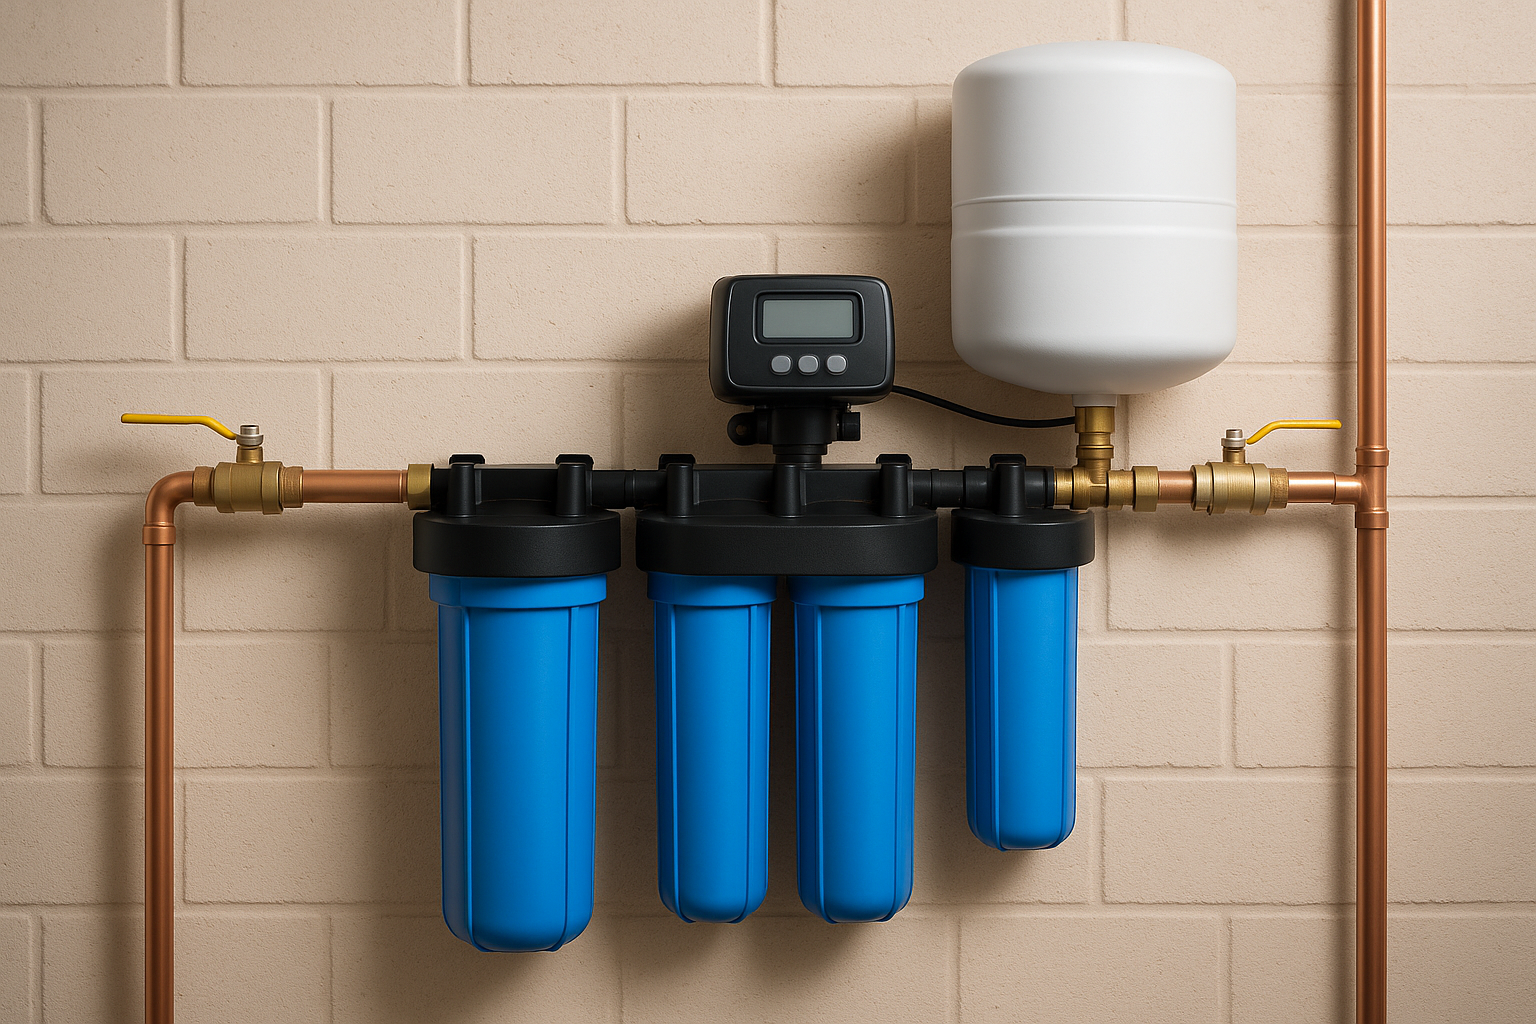
Why install a whole house water filtration system?
Installing a whole house water filtration system ensures every tap, shower and appliance in your home receives cleaner, safer water. Unlike point-of-use filters that treat only a single outlet, a whole house system treats water at the point where it enters your home. That means better-tasting drinking water, reduced scale buildup on plumbing fixtures, longer appliance life, and fewer contaminants reaching your family.
Types of whole house water filtration systems
Activated carbon filters
Activated carbon is excellent at removing chlorine, volatile organic compounds (VOCs), and improving taste and odor. Many homes use carbon filtration as a baseline treatment.
Sediment filters
Sediment filters capture sand, silt, rust, and other particulates. These are usually installed as a pre-filter to protect more sensitive media downline.
Reverse osmosis and specialty systems
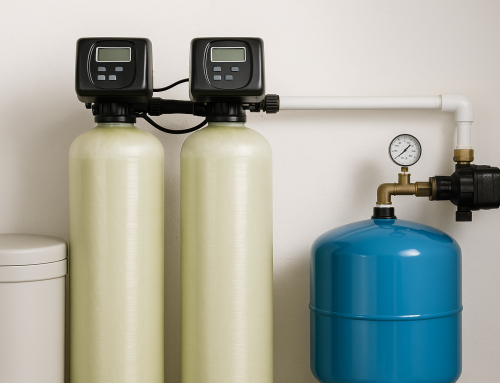
Whole house reverse osmosis systems are less common due to waste water and flow concerns, but specialty media can target hard water minerals, iron, sulfur, or specific contaminants such as arsenic or nitrate.
Pre-installation considerations
1. Water testing
Begin with a comprehensive water test. Municipal and well water have different contaminant profiles. A test will tell you what needs removing—microbial concerns, iron, manganese, hardness, or chemical contaminants—and guide system selection.
2. Location and space
Identify a suitable installation spot near the main water shutoff, often in a basement, utility room, or garage. Consider clearances for filter changes and access to drain lines for some systems.
3. Flow rate and sizing
Match the system to your household peak flow rate to avoid pressure drops. System capacity should reflect daily water usage and desired service life of filter media.
4. Plumbing, permits, and local codes
Check local plumbing codes and whether a permit is needed. Some jurisdictions require licensed installers for whole house systems or backflow prevention devices.
Step-by-step installation overview
The following is a general overview. Specific steps vary by system and local plumbing practices.
- Shut off water and power: Turn off the incoming water and any connected electrical components if applicable.
- Drain the lines: Open faucets to relieve pressure and drain water from the system.
- Mount the unit: Attach filter housings or tanks to the wall or floor per manufacturer instructions.
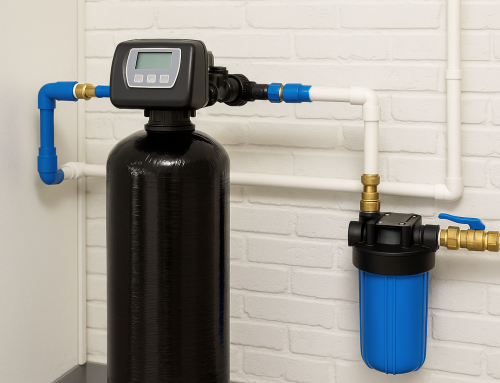
- Cut and connect plumbing: Install fittings, valves, and bypass lines. Securely connect inlet and outlet lines using appropriate piping (copper, PEX, or PVC) and piping methods.
- Install pre- and post-filters: Add sediment or carbon pre-filters and any post-treatment devices needed.
- Check for leaks and pressure: Slowly reopen the main valve, check all joints for leaks, and monitor system pressure. Flush per manufacturer recommendations to remove installation debris and prime the media.
- Test system performance: Re-test water quality to confirm contaminant reduction and verify proper functioning.
Costs and timeline
Installation costs vary widely based on system type, home plumbing complexity, and whether a professional is hired. Expect a DIY-friendly sediment/carbon setup to cost a few hundred to a couple thousand dollars in parts, while professional installs for multi-stage systems can range from $2,000 to $6,000 or more. Installation typically takes 3–8 hours for experienced plumbers, though scheduling and permits can extend total time to a few days.
Maintenance and troubleshooting
Routine maintenance keeps performance high: replace pre-filters every 3–12 months, change carbon media or specialty cartridges per manufacturer intervals, sanitize tanks annually, and monitor pressure drops that indicate clogged filters.
Common issues include reduced water pressure (often a clogged filter), leaks (loose fittings or damaged seals), and unexpected taste or odor changes (media exhaustion or biological growth). Address issues promptly to avoid plumbing damage.
DIY vs. professional installation
If you have solid plumbing skills and are comfortable following local code, DIY installation of simple systems is possible. However, for multi-stage media tanks, well-water treatments, or systems requiring electrical components and drainage, professional installation is strongly recommended. Professionals ensure proper sizing, code compliance, backflow prevention, and optimized performance.
How to choose the right system
Choose a system based on your water test results, budget, and maintenance willingness. Prioritize certified systems (NSF/ANSI where applicable) and select reputable brands with local support. If you’re uncertain, consult a water treatment professional who can recommend and size the correct system for your home.
Next steps and appointment
Ready to improve your home’s water? Schedule an on-site assessment to get a tailored recommendation and a firm installation quote. Reach out to Custom Filtration Systems to set an appointment—our technicians can test your water, recommend the right whole house filtration solution, and handle professional installation from start to finish.
Conclusion
Whole house water filtration is an investment in your home and health. With proper testing, the right system selection, and regular maintenance, you’ll enjoy cleaner water at every tap. Contact Custom Filtration Systems to get started and schedule your installation appointment today.